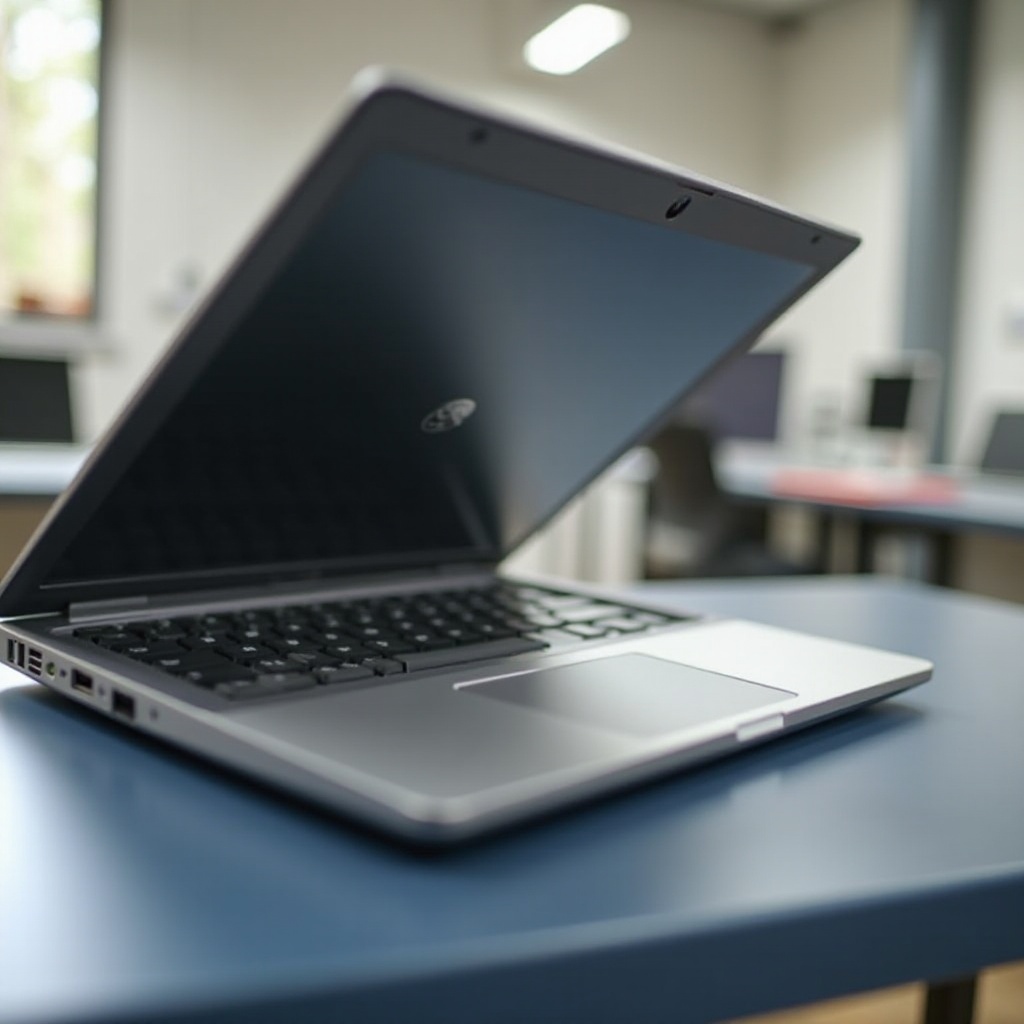
Introduction
The HP Pavilion series continues to be a popular choice for many users due to its impressive balance of performance and cost-effectiveness. A crucial aspect of maintaining your HP Pavilion laptop’s functionality is understanding how to properly handle its battery. This knowledge is vital, as improper handling can lead to performance issues and safety risks. In this detailed guide, you’ll learn the essentials of safely removing and replacing your HP Pavilion laptop battery, ensuring your device remains efficient and safe.
Understanding HP Pavilion Laptop Batteries
Different models of HP Pavilion laptops come equipped with various battery types, each with distinct specifications. Recognizing your laptop’s battery type is essential for correct handling and replacement. Common indicators that a battery needs replacement include a noticeable decrease in battery life, the laptop overheating during use, and unexpected shutdowns. Identifying these signs early can help maintain your laptop’s performance and prevent potential damage.
Linking to the next important step, preparation is key. Before you attempt battery removal, it’s critical to ensure you have everything prepared for a smooth and safe process.
Preparations Before Battery Removal
Embarking on battery removal requires thoughtful preparation to ensure safety and success. Firstly, gather all necessary tools, such as a small screwdriver, which will assist in accessing the battery compartment. Prioritize safety by disconnecting the laptop from any power source to eliminate electrical hazards. Additionally, if the laptop has been in use, allow it to cool down to prevent burns or mishaps. By ruling out these risks beforehand, you can focus on removing and replacing the battery efficiently.
With preparations complete, you’re ready to undertake the step-by-step battery removal process. Let’s proceed with meticulous attention to detail to ensure success.

Step-by-Step Guide to Removing the Battery
Undertaking the task of removing the battery can be intimidating, but by meticulously following this step-by-step guide, you can accomplish it safely:
-
Turning Off and Unplugging the Laptop
Begin by shutting down your laptop completely. Disconnect all cables, including the power adapter, to ensure no electric current is present. -
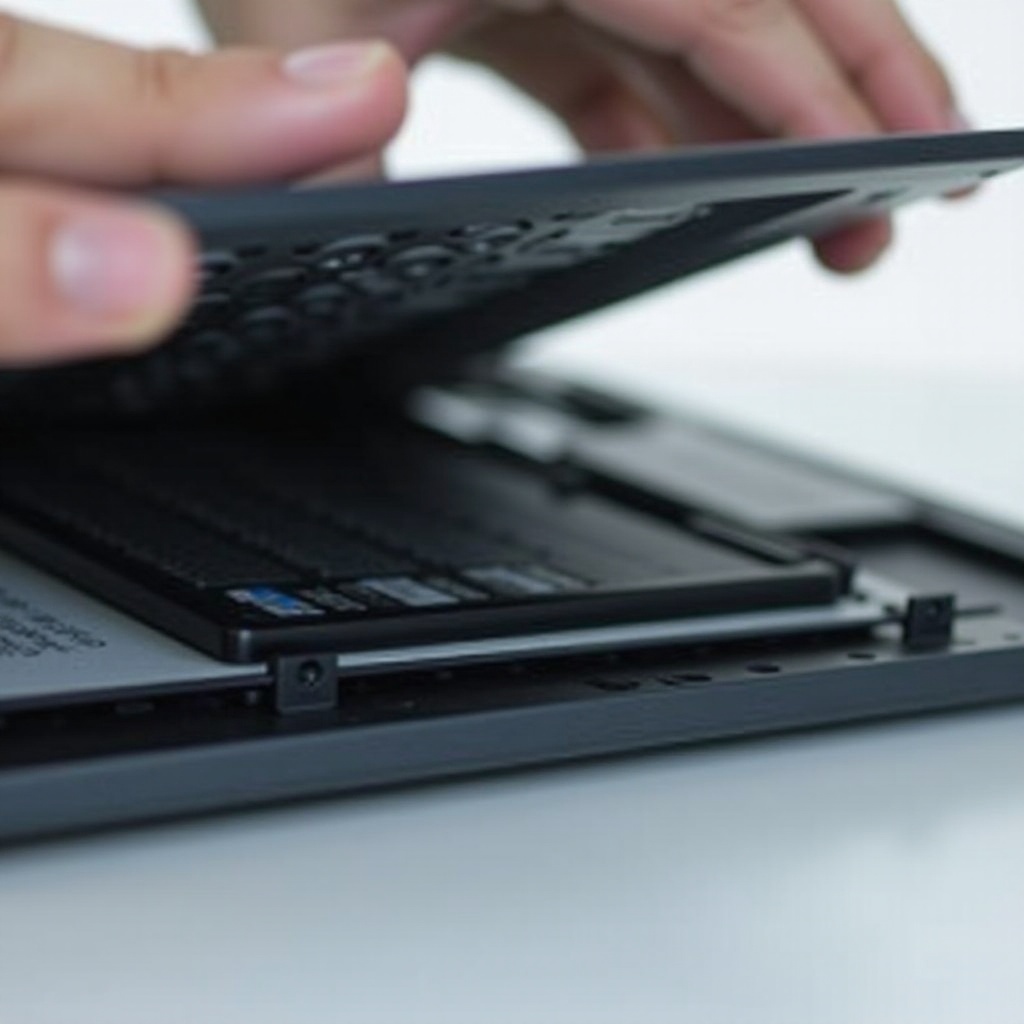
Accessing the Battery Compartment
Turn your laptop over to locate the battery compartment. Most Pavilion models feature a latch mechanism that you can slide to reveal the battery. -
Safely Removing the Battery
Once you have clearance to the compartment, gently slide or detach the battery from its housing. If it appears resistant, inspect for additional fixings that may need loosening. Place the extracted battery on a dry, non-static surface.
Following these steps, transition seamlessly to installing the new battery, emphasizing compatibility and precise installation.
Installing a New Battery
Choosing and installing a compatible battery is just as crucial as removal. Ensure the replacement battery matches your laptop’s specifications by verifying the model number and capacities beforehand. Upon obtaining the correct battery:
- Glide the new battery snugly into the designated compartment. Confirm it clicks into place according to latch or snap fittings.
- Secure any latches or screws that were undone during removal to firmly hold the battery.
- Power on your laptop and observe whether the system recognizes the new battery and initiates charging seamlessly.
Post-installation, it is pivotal to focus on maintaining the health of your new battery. Effective practices will prolong its lifespan and enhance overall performance.
Maintaining Battery Health for Longevity
A proactive approach to battery maintenance can significantly extend its service life. Key practices to optimize battery health include:
-
Optimal Charging Practices:
Avoid letting your battery completely deplete. Instead, aim to maintain its charge between 20% and 80%. -
Regular Monitoring:
Use diagnostic tools available through HP’s support resources to keep track of your battery’s status and health. This allows you to anticipate potential issues and address them promptly.
By consistently employing these strategies, you will ensure that your laptop remains in peak operational condition, reducing the need for frequent replacements.
Conclusion
Armed with this comprehensive guide, you can confidently manage your HP Pavilion laptop’s battery removal and installation. With careful preparation and following the steps outlined, your device’s health and performance are safeguarded. Should you encounter any challenges or uncertainties, seeking professional assistance remains a viable option to ensure both your safety and device functionality.
Frequently Asked Questions
How often should I replace my HP Pavilion laptop battery?
On average, laptop batteries last between 2-4 years. Regular monitoring and maintenance can help in prolonging its lifespan.
What should I do if the battery is stuck?
If your battery seems stuck, check for hidden screws or additional locks. Applying gentle pressure is recommended, but consult a professional if the issue persists.
Is it safe to remove the battery by myself?
Yes, it is safe to remove the battery yourself by following the safety guidelines. If unsure, professional help is advised.