Introduction
Connecting your PC to a WiFi OBD2 scanner opens up a world of advanced diagnostics and insights for your vehicle. Whether you’re a car enthusiast or a professional mechanic, this connection can provide you with critical information about vehicle performance, issues, and maintenance needs. In this guide, we’ll walk you through the entire process, ensuring that you can efficiently connect your PC to a WiFi OBD2 scanner and utilize it effectively.
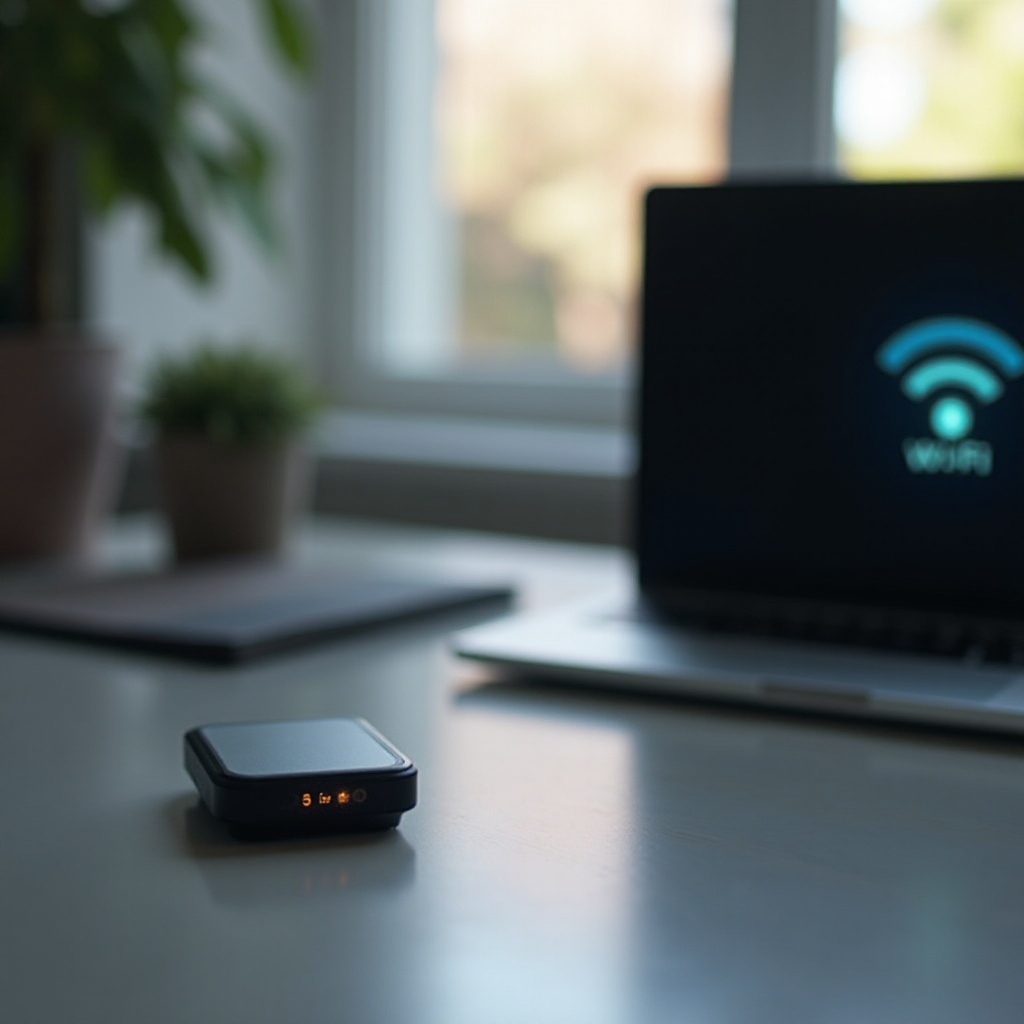
Understanding WiFi OBD2 Scanners
What is an OBD2 Scanner?
An OBD2 scanner is a diagnostic tool used to access the onboard computer of a vehicle. It retrieves codes and data from the vehicle’s Engine Control Unit (ECU), identifying various issues such as engine problems, emission controls, and performance data. These scanners are essential for both diagnosing and resolving vehicle problems, making them valuable for car owners and mechanics alike.
Advantages of WiFi Over Bluetooth
WiFi OBD2 scanners boast several advantages over their Bluetooth counterparts:
1. Faster Data Transfer: With quicker data rates, WiFi ensures real-time diagnostics and analysis.
2. Stable Connection: WiFi signals provide a more stable connection, reducing the risk of data loss or interruptions.
3. Extended Range: WiFi scanners are effective over longer distances, making them perfect for larger workshops.
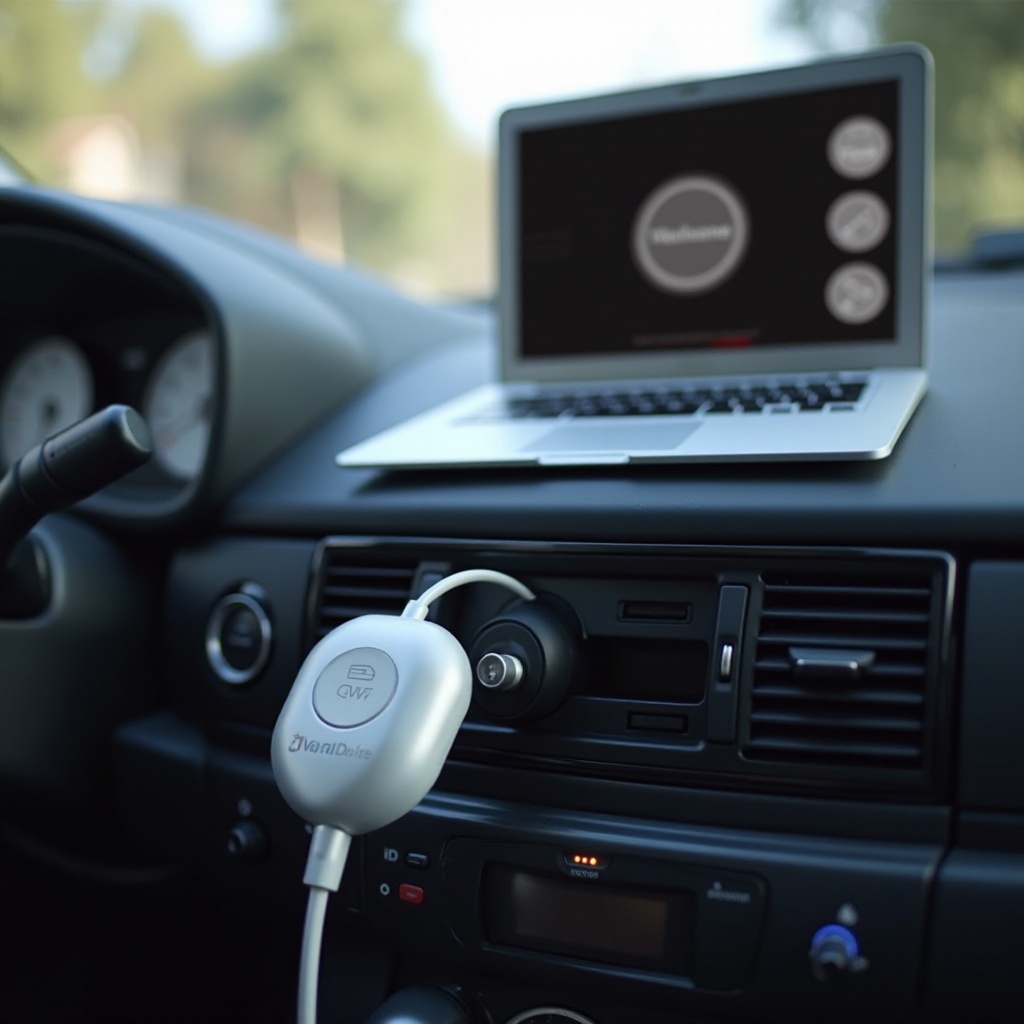
Choosing the Right WiFi OBD2 Scanner
Before you can connect your PC to a WiFi OBD2 scanner, selecting the right scanner is crucial.
Key Features to Look For
When selecting a WiFi OBD2 scanner, consider these features:
1. Compatibility: Ensure the scanner is compatible with your vehicle’s make and model.
2. Ease of Use: Look for user-friendly interfaces and step-by-step guides.
3. Software Support: Check for comprehensive software support that can cater to diverse diagnostic needs.
4. Update Frequency: Opt for scanners that offer regular firmware and software updates to stay current with changing technology.
Top Recommended Models
To help you make an informed choice, here are some highly recommended WiFi OBD2 scanners:
1. FIXD OBD2 Professional: A user-friendly choice with extensive software support.
2. BAFX Products: Known for stability and compatibility with multiple vehicles.
3. Autel MaxiCOM MK808: Offers advanced diagnostic functions and real-time data transfer.

Preparing Your PC and Scanner
Once you’ve chosen your scanner, it’s important to ensure your PC is ready for the connection.
Hardware Requirements
Before connecting your PC with the WiFi OBD2 scanner, ensure you have:
1. A PC with an operating system, Windows or Mac.
2. A WiFi-enabled OBD2 scanner compatible with your vehicle.
3. An internet router or mobile hotspot for stable WiFi connectivity.
Necessary Software
Install the software required for your specific OBD2 scanner model:
1. Download the official application from the scanner’s manufacturer website.
2. Install any additional drivers if prompted.
3. Update your operating system and software to the latest versions for compatibility.
Step-by-Step Connection Guide
Let’s move on to the process of connecting the scanner to your vehicle and configuring your PC.
Connecting the Scanner to Your Vehicle
- Turn off your vehicle and locate the OBD2 port, typically found under the dashboard.
- Insert the WiFi OBD2 scanner into the port firmly.
- Start your vehicle to power the OBD2 scanner.
Setting Up WiFi on Your Scanner
- Switch on your scanner and ensure it is in WiFi mode.
- Check your scanner manual for the default WiFi network name (SSID) and password.
- Connect your PC to this network through your WiFi settings.
Configuring Your PC for Connection
- Open the diagnostic software installed on your PC.
- Select the option to connect to the scanner via WiFi.
- Follow any on-screen prompts, such as entering the scanner’s IP address.
- Confirm the connection and wait for the software to establish communication with the scanner.
Using Diagnostic Software
Once the connection is established, you can start using the diagnostic software to monitor your vehicle’s performance.
Installing the Software
If you haven’t done so yet, install the diagnostic software:
1. Download the software from the scanner manufacturer’s website.
2. Run the installation file and follow the setup instructions.
3. Ensure all necessary drivers are installed correctly.
Navigating the Interface
- Familiarize yourself with the main dashboard, where real-time data will display.
- Explore features such as live data stream, fault codes, and performance logs.
- Utilize the help section or tutorials within the software for assistance.
Troubleshooting Common Issues
Even with the best preparation, you might encounter some issues. Here are ways to address them.
Connection Problems
If you encounter connectivity issues:
1. Ensure your PC’s WiFi is functioning correctly.
2. Verify the OBD2 scanner is properly inserted and powered.
3. Restart your PC, scanner, and vehicle, then attempt to reconnect.
Compatibility Issues
For compatibility-related problems:
1. Confirm that the scanner is compatible with your vehicle model.
2. Update scanner firmware and software to the latest versions.
3. Consult the scanner’s manual or customer support for specific incompatibility issues.
Conclusion
Connecting a WiFi OBD2 scanner to your PC is a straightforward process that can significantly enhance your ability to diagnose and monitor your vehicle’s performance. By following the steps outlined in this guide, you can ensure a secure connection and effective use of this powerful tool.
Frequently Asked Questions
Can I Use Any OBD2 Scanner with My PC?
Not all OBD2 scanners will work with your PC, as compatibility varies. Choose a WiFi OBD2 scanner specifically designed to support PC connections.
What Do I Do If My Scanner Fails to Connect?
First, check all connections and ensure your software is up to date. Restart your devices and try reconnecting. If issues persist, contact the scanner’s support team.
How Do I Keep My WiFi Connection Stable?
Ensure your PC and scanner are within WiFi range. Use a reliable router or consider a dedicated mobile hotspot for a consistent connection.