Introduction
Taking high-quality photos using a computer and an external camera is simpler than you might think. Whether you’re aiming for enhanced webcam experiences or professional-grade photography, harnessing the power of your computer alongside an external camera can unlock a new level of versatility. This guide outlines all the vital steps to ensure seamless setup, optimal settings, and effective troubleshooting, helping you achieve the best results with ease.
Choosing the Right External Camera
Selecting the right external camera is the first crucial step in elevating your image quality. Several options are available, ranging from USB webcams to high-end DSLRs. Consider the primary use of your camera. If video calls or streaming are your goals, a high-quality USB webcam with HD resolution will suffice. For photography enthusiasts or professional content creators, mirrorless or DSLR cameras offer more flexibility and higher resolution. Always check compatibility with your computer system to avoid any connectivity problems. Additionally, factor in your budget when making your choice; there’s an array of options available, from affordable webcams to premium professional cameras.
Setting Up Your External Camera
Installing Necessary Drivers and Software
Once you’ve chosen your camera, the next step is setting it up. Start by installing any drivers and software required for your specific camera model. Most modern external cameras come with plug-and-play functionality, but some may require specific drivers to be downloaded from the manufacturer’s website. Follow the provided instructions to install these drivers correctly.
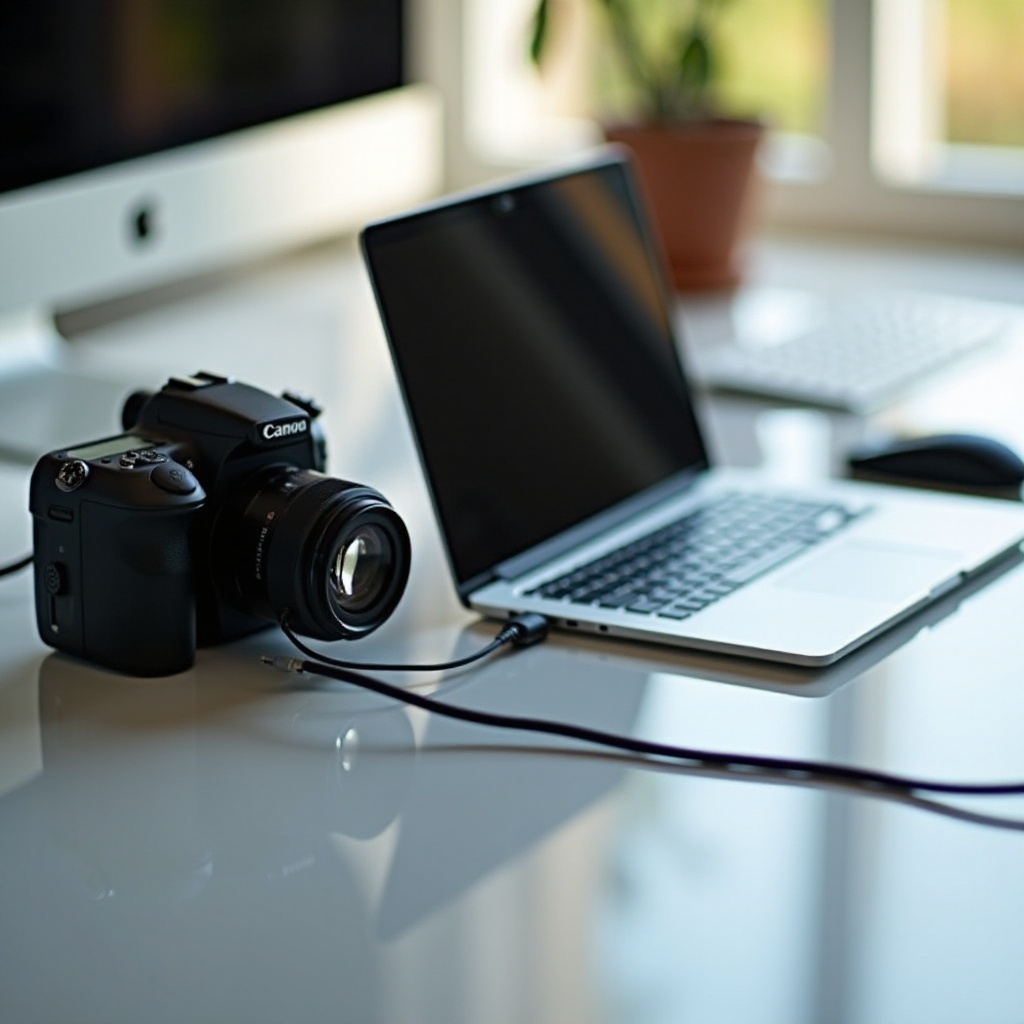
Connecting the Camera to Your Computer
After installing the necessary software, connect your camera to your computer. Most external cameras use USB connections, while some high-end models may require HDMI adapters or special capture cards. Ensure a secure connection and that your computer recognizes the camera. Check the connection status through your device manager or system preferences to confirm the computer has detected the camera correctly.
Adjusting Camera Settings for Optimal Quality
Resolution and Frame Rate
For the best visual experience, adjusting your camera settings is essential. Start by selecting the appropriate resolution and frame rate. Higher resolution and frame rates yield crisper, smoother images, but they require more processing power. Standard webcams usually offer 720p or 1080p options, while DSLRs can provide 4K resolution. Select settings based on your computer’s capacity and your specific needs.
Focus and Exposure Adjustments
Next, fine-tune the focus and exposure. Most webcams have automatic settings, but manual adjustments can dramatically improve image quality. Use your camera’s software or menu settings to adjust focus, ensuring sharpness in your images. For exposure, ensure the lighting in your environment is consistent, and adjust the camera settings to reduce overexposure or underexposure for better clarity and detail.
Selecting the Right Software for Image Capture
Recommended Software for Windows
For Windows users, several robust image capture tools are available. Software like OBS Studio, Camera, and ManyCam offer easy-to-use interfaces and a range of features for capturing and editing images. OBS Studio is particularly versatile, providing extensive customization options.
Recommended Software for Mac
Mac users have excellent tools like Photo Booth, QuickTime Player, and Camtasia. Photo Booth is pre-installed and perfect for quick snapshots, while QuickTime Player allows for simple video recording and playback. Camtasia offers more advanced editing features for polished results.
Features to Look for in Image Capture Software
When choosing image capture software, prioritize features like ease of use, compatibility with your camera model, and the ability to adjust settings like resolution and frame rate. Additional functionalities like editing tools, filter options, and direct sharing capabilities on social media or cloud storage can significantly enhance your experience.
Capturing and Saving Your Photos
Taking a Photo
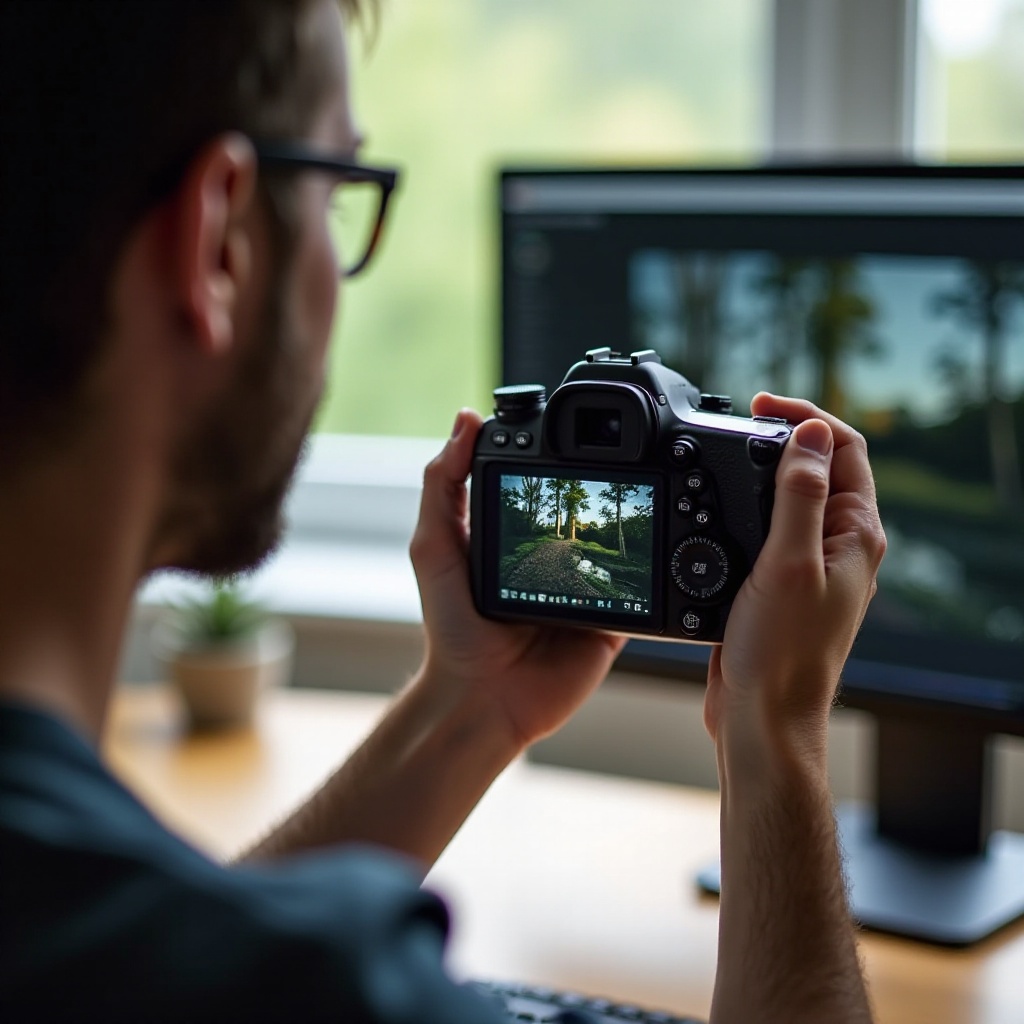
With your camera and software ready, capturing photos is straightforward. Open your chosen software and ensure it recognizes your camera. Adjust the settings as needed and frame your shot. Click the capture button to take a photo.
Saving and Accessing Your Images
After capturing the photo, save it to your computer. Most software provides options to select the destination folder for your images. Use clear, organized folder structures and filenames for easy access and management. You can also back up your photos to cloud storage services like Google Drive or Dropbox for added security.
Troubleshooting Common Issues
Connection Problems
If your computer doesn’t recognize the external camera, verify the connection cables, try different ports, or reinstall the drivers. Checking online forums or the manufacturer’s support page can also provide solutions for specific issues.
Software Errors
Software errors, such as crashes or unresponsiveness, can generally be fixed by ensuring you’re using the latest version of the software and your computer’s operating system. Restart the software, and if the problem persists, reinstall it.

Tips for Better Photos
For improved photo quality, ensure good lighting by using natural light or softbox lights. Keep the background simple to highlight your subject. Regularly clean your camera lens, and practice framing techniques to enhance image composition.
Conclusion
Successfully using a computer with an external camera allows you to capture high-quality images easily. By following these steps, you’ll enhance your photographic capabilities and enjoy better results.
Frequently Asked Questions
Can I use any external camera with my computer?
Most external cameras are compatible with computers, but always verify compatibility with your operating system and ensure necessary drivers are available.
What should I do if my computer doesn’t recognize my external camera?
Check the connections, reinstall drivers, and consult the user manual or online support forums for troubleshooting guidance specific to your camera model.
Which free image capture software is recommended?
For Windows, OBS Studio and Camera are popular options. Mac users often favor Photo Booth and QuickTime Player for their ease of use and reliable performance.