Introduction
The HP ScanJet G4050 is a reliable, high-resolution scanner favored by both professionals and hobbyists for its versatile scanning capabilities. Although traditionally connected to a computer, with technology advancements, it’s possible to use the HP ScanJet G4050 with your smartphone. This guide will take you through the process step-by-step, making it easy for you to set up and utilize your scanner effectively with a mobile device.
Setting Up the HP ScanJet G4050
Before you can start using your ScanJet G4050 with your phone, you need to ensure that it is correctly set up. Here’s how you can do it:
- Unbox the Scanner: Carefully remove the scanner and accessories from the packaging.
- Plug It In: Connect the scanner to a power source using the supplied power cord.
- Install the Driver: Using a computer, download and install the HP ScanJet G4050 driver from the official HP website. This is crucial for the scanner’s firmware updates and the initial setup.
- Test It: Perform a test scan with your computer to ensure everything is functional. This will ascertain that the scanner hardware is working correctly before you attempt to connect it to your phone.
Having your ScanJet G4050 setup properly on a computer lays the groundwork for seamless integration with your mobile device.
Connecting the Scanner to Your Phone
With your scanner set up, it’s time to connect it to your phone. This connection involves several key steps:
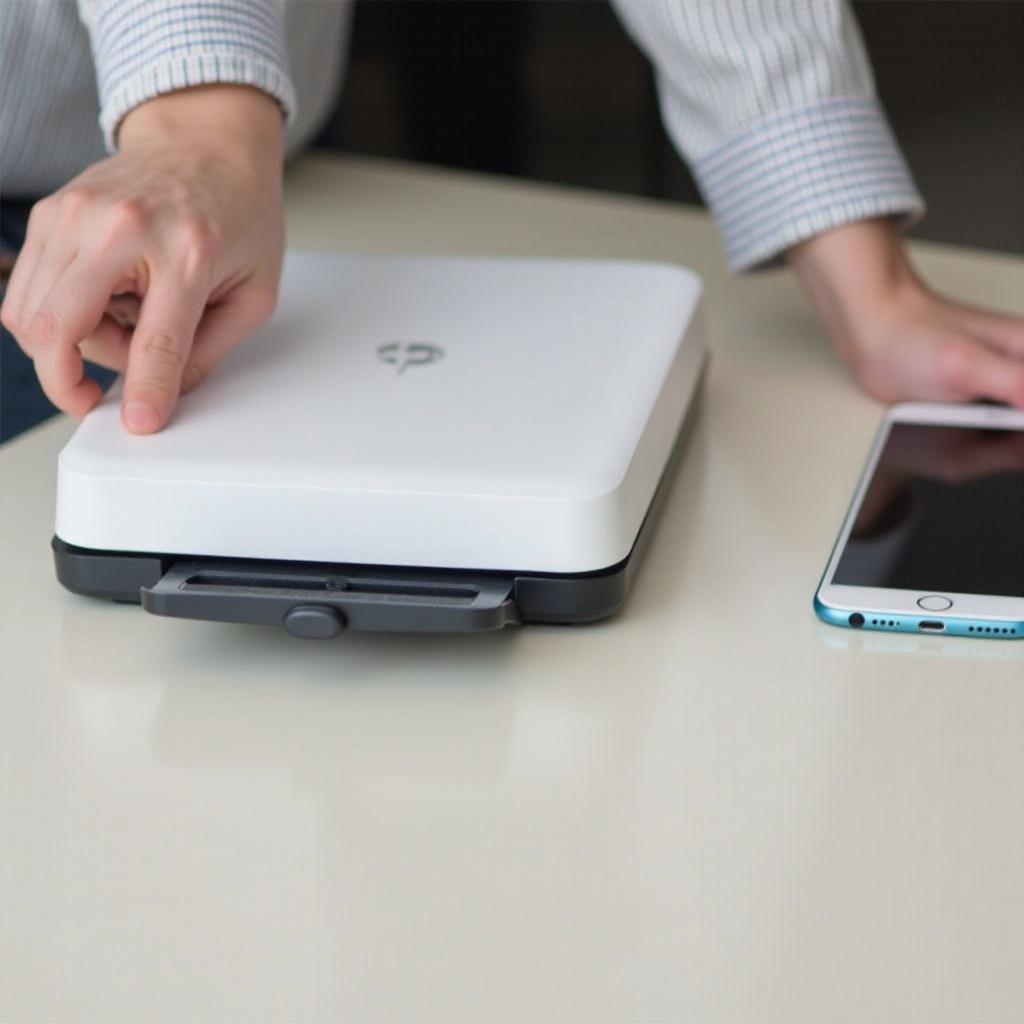
- USB OTG Cable: Obtain a USB On-The-Go (OTG) cable that is compatible with your smartphone.
- Scanner to Phone Connection: Connect one end of the standard USB cable to the scanner, and the other end to the OTG cable connected to your phone.
- Install Scanning Apps: On your phone, install a compatible scanning app such as ‘HP Smart’ or ‘Google Scan’ which can communicate with external devices.
- App Configuration: Open the scanning app and follow the on-screen instructions to set up the connection between your phone and the scanner. This typically involves granting the necessary permissions for USB devices.
Once connected, ensure your phone recognizes the scanner. If the app doesn’t detect it immediately, you may need to restart your phone or replug the cables.
Scanning Documents and Photos
With your scanner and phone now connected, you can start scanning documents and photos with ease. Here’s how:
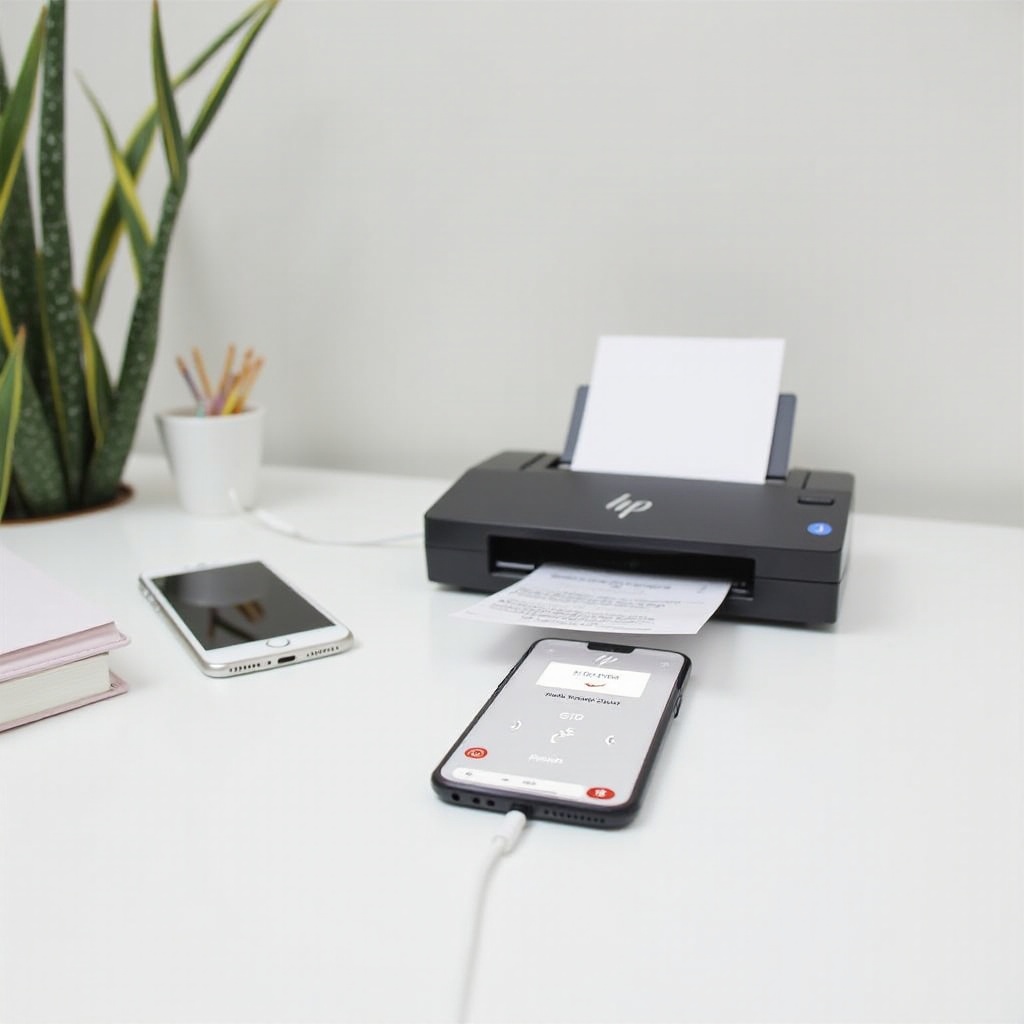
- Open the Scanning App: Open the scanning app you installed during the setup process.
- Place the Document/Photo: Lift the scanner lid and place your document or photo face-down on the scanner glass. Align it correctly using the guides.
- Scan Settings: Choose your preferred scan settings such as resolution, color mode, and file format. Higher resolutions are suitable for detailed images but result in larger file sizes.
- Initiate Scan: Press the scan button within the app. The scanner will process the document and transmit the image to your phone.
- Review and Save: Once the scan is complete, review the scanned image on your phone. Adjustments or edits can be made using the app’s built-in tools before saving the file to your phone’s storage.
This process allows you to manage your scanned files directly from your phone, facilitating easy sharing and storage.
Essential Apps for Enhanced Functionality
Using the right apps can greatly enhance the functionality of your HP ScanJet G4050. Here are some recommendations:
- HP Smart App: Official and designed for seamless use with HP devices. Offers features for scanning, editing, and sharing.
- Google Drive: Useful for storing and sharing scanned documents securely. Integrates well with various other services.
- CamScanner: Offers advanced features such as OCR (Optical Character Recognition) for converting scanned images to editable text.
These applications expand the capabilities of your scanner, making it more versatile and user-friendly.
Troubleshooting Common Issues
Despite following the steps correctly, you might encounter some issues. Here are common problems and how to fix them:
- Scanner Not Recognized: Ensure all cables are securely connected. Try a different USB OTG cable if the problem persists.
- Poor Image Quality: Adjust the scan resolution settings. Clean the scanner glass and ensure the document is properly aligned.
- App Crashes: Update your scanning app and phone OS to the latest versions. Restart your phone and reinstall the app if necessary.
Remember, most issues can be resolved with simple checks and adjustments.

Conclusion
Using the HP ScanJet G4050 as a phone scanner is a practical solution for mobile scanning needs. Setting it up involves a few simple steps, and with the right apps, you can significantly enhance its functionality. Troubleshooting common issues ensures a smooth scanning experience, making it easier to manage your documents and photos on the go.
Frequently Asked Questions
How do I connect my HP ScanJet G4050 to my phone?
To connect your HP ScanJet G4050 to your phone, use a USB OTG cable and a compatible scanning app. Ensure all connections are secure and follow the app’s setup instructions.
What are the best apps for scanning documents with the HP ScanJet G4050?
The best apps include HP Smart App, Google Drive, and CamScanner. These apps offer scanning, editing, and sharing features, enhancing the functionality of your scanner.
How can I improve the scan quality when using my HP ScanJet G4050 with my phone?
Improve scan quality by adjusting the resolution settings in the scanning app. Clean the scanner glass and ensure the document is properly aligned on the scanner bed.