Introduction
Connecting your Chromebook to a Canon TS3722 printer wirelessly can greatly simplify your printing tasks. The benefits of a wireless setup include maintaining a clean workspace and the ability to print from anywhere within your home’s network. This comprehensive guide will walk you through the steps to prepare both your Chromebook and your Canon printer for wireless connectivity. We will also discuss common troubleshooting techniques and share additional tips for a smooth and efficient printing experience. Whether you are a student, a professional, or a home user, this guide will help you print easily and effectively from your Chromebook.
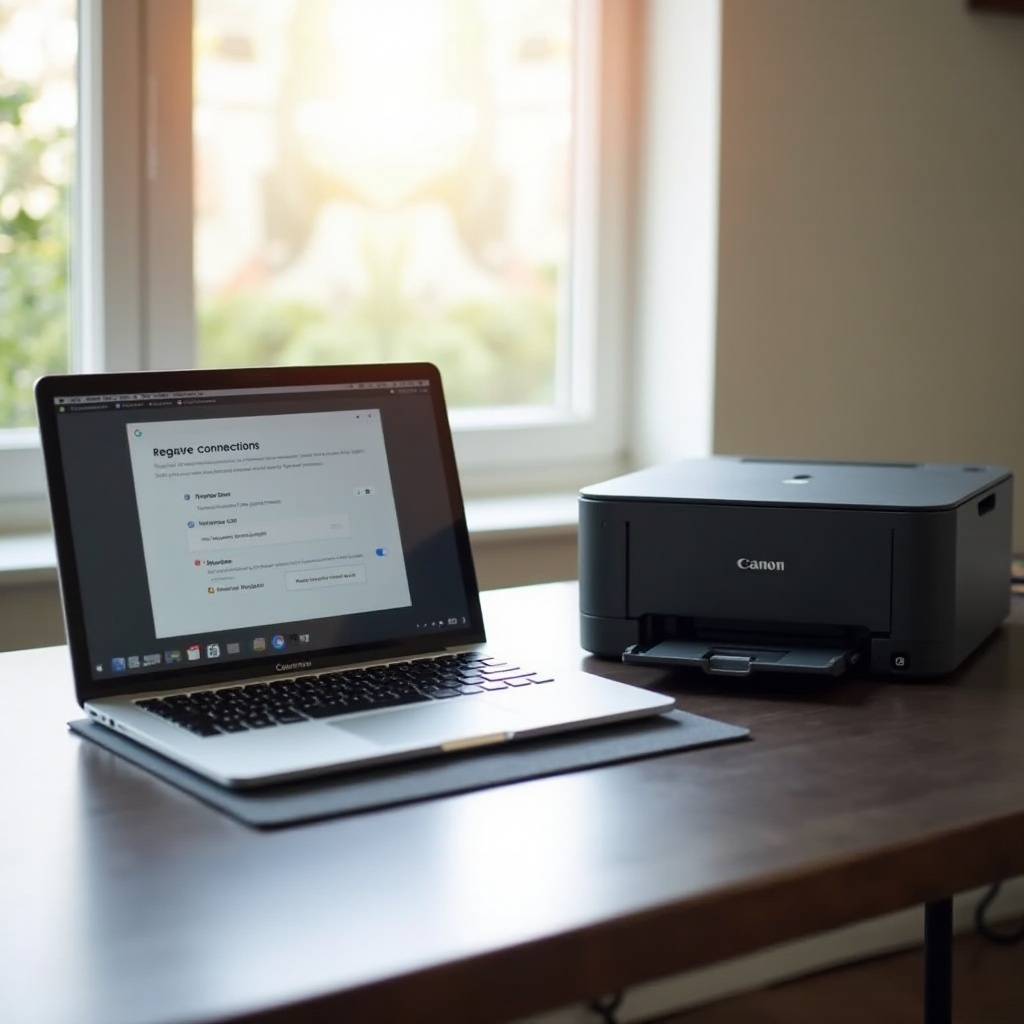
Preparation Steps
Before diving into the setup, ensure you have all the essentials in place for a smooth connection process.
- Wi-Fi Network: Confirm that your Wi-Fi network is operational and secure. Know your Wi-Fi name (SSID) and password.
- Printer Unboxing: Unbox your Canon TS3722 printer if you haven’t already. Connect it to a power source and turn it on.
- Chromebook Updates: Ensure your Chromebook is running the latest Chrome OS version. You can check for updates by navigating to Settings > About Chrome OS.
- Printer Manual & Supplies: Keep the printer manual handy for reference, along with sufficient paper and ink cartridges installed in your Canon TS3722.
Having these things ready will facilitate the seamless connection of your devices.
Setting Up Canon TS3722 for Wireless Printing
To set up your Canon TS3722 printer for wireless printing, follow these steps:
- Power on the Printer: Ensure the printer is plugged in and turned on.
- Access Menu: On the printer control panel, press the Wi-Fi button until the Wi-Fi light starts blinking.
- Wi-Fi Setup Mode: The printer will enter setup mode. Use the navigation arrows to select ‘Wireless LAN setup’ and press ‘OK.
- Select Wi-Fi Network: The printer should scan for available Wi-Fi networks. Select your Wi-Fi network (SSID) from the list and enter the Wi-Fi password using the printer control panel.
- Confirm Connection: After entering the Wi-Fi password, confirm the settings. The Wi-Fi light should stop blinking and remain steady, indicating the printer is connected to your Wi-Fi network.
Your Canon TS3722 printer is now set up for wireless printing.
Configuring Chromebook for Canon TS3722
Next, configure your Chromebook to recognize the Canon TS3722 printer:
- Open Settings: Click on the clock in the bottom-right corner of your Chromebook screen and select the gear icon to open Settings.
- Advanced Settings: Scroll down and open the ‘Advanced’ section to reveal more options.
- Printing Section: Under the ‘Printing’ section, select ‘Printers.
- Add Printer: Click on ‘Add Printer’ and allow the Chromebook to search for available printers.
- Select Canon TS3722: Find your Canon TS3722 from the list of available printers and select ‘Add.
Once completed, your Chromebook should be configured to use the Canon TS3722 printer.
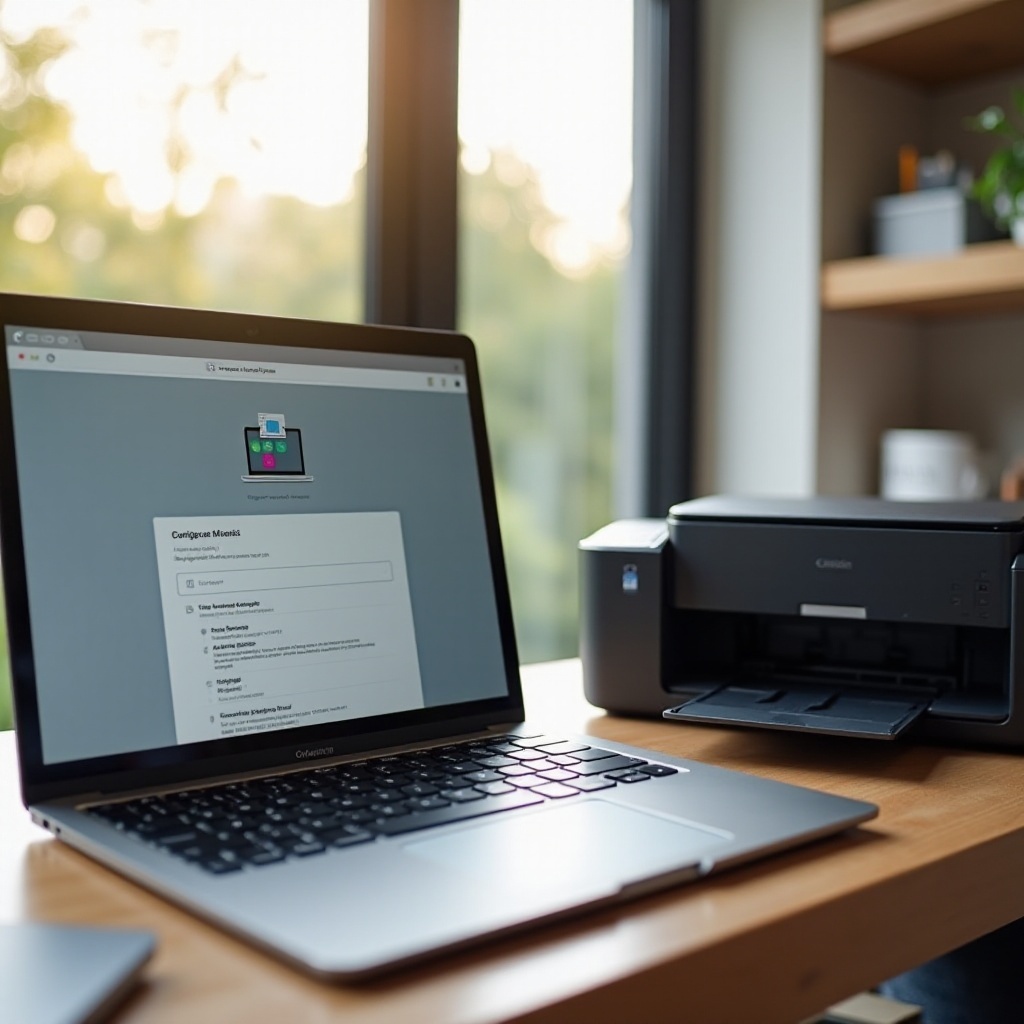
Connecting the Chromebook and Printer
With both devices now set up, it’s time to connect them and start printing:
- Access Document: Open the document or image you wish to print on your Chromebook.
- Print Command: Press Ctrl + P or select ‘Print’ from the document’s menu options.
- Select Printer: In the print dialog box, choose your Canon TS3722 from the list of printers.
- Configure Print Settings: Adjust the print settings as needed, such as orientation, number of copies, and color preferences.
- Print Command: Click on ‘Print,’ and your Chromebook will send the document wirelessly to the Canon TS3722 printer.
Your document should now print successfully. If prompted, confirm the print job on the printer control panel.
Troubleshooting Common Issues
Sometimes things might not go as smoothly as planned. Here are a few common issues and their solutions:
- Printer Not Found: Ensure both devices are on the same Wi-Fi network. Restart both the Chromebook and the printer to refresh the connection.
- Print Jobs Stuck: Cancel the print job, and restart the printer. Clear the print queue on the Chromebook and try printing again.
- Wi-Fi Signal Weak: Ensure your printer is within range of your Wi-Fi router. Consider moving the router or using a Wi-Fi extender to boost the signal.
Addressing these issues should get your printer up and running.
Additional Tips for Seamless Wireless Printing
For the best wireless printing experience, follow these additional tips:
- Firmware Updates: Regularly check for and install firmware updates for both your Chromebook and Canon TS3722 printer.
- Printer Placement: Place your printer in an area with good Wi-Fi signal strength to avoid connectivity issues.
- Regular Maintenance: Keep your printer clean and well-maintained to ensure consistent and quality prints.
Following these tips will help maintain an efficient printing setup.
Conclusion
Connecting your Chromebook to a Canon TS3722 printer wirelessly may seem daunting at first, but following the steps outlined in this guide can make the process simple and efficient. From ensuring your Wi-Fi network is ready to troubleshooting common issues, this guide covers everything you need to know. Happy printing!
Frequently Asked Questions
Why isn’t my Chromebook detecting the Canon TS3722 printer?
Ensure both devices are on the same Wi-Fi network and that the network is active. Restart both the Chromebook and the printer, and check if the printer firmware is up to date.
Can I print from my Chromebook without Wi-Fi?
Without Wi-Fi, you can still print by connecting via USB if your printer supports it. Ensure you have the necessary cable and drivers installed on your Chromebook.
How do I update the firmware on my Canon TS3722 printer?
Go to the Canon website and download the latest firmware for the TS3722. Follow the instructions provided to update the firmware via USB or Wi-Fi, usually found under the printer’s menu options.