Introduction
Adding a printer to your Chromebook might seem challenging, especially if you are new to Chrome OS. However, the process is straightforward once you know the steps. Whether you have a USB, wireless, or Bluetooth printer, this guide will help you connect your printer to your Chromebook easily.

Preparing Your Chromebook and Printer
Before you start connecting your printer, ensure both your Chromebook and printer are ready for the setup. This preparation step is crucial for a smooth connection.
- Update your Chromebook: Ensure your Chromebook OS is up to date. Connect to a Wi-Fi network and go to ‘Settings > About Chrome OS > Check for updates.
- Printer readiness: Make sure your printer is powered on and properly set up with paper and ink. Refer to your printer’s user manual for specific setup instructions.
- Check compatibility: Ensure your printer is compatible with Chromebooks. Most newer printers from major brands like HP, Canon, and Epson support Chromebook connectivity.
By preparing your devices, you set a solid foundation for the connection process, whether through USB, Wi-Fi, or Bluetooth. On to the next steps to connect via USB.
Adding a Printer via USB Connection
Connecting your printer via USB is often the simplest method, requiring only a USB cable and your Chromebook.
- Plug in the USB cable: Connect one end of the USB cable to your printer and the other end to one of your Chromebook’s USB ports.
- Open Settings: Click on the time in the bottom-right corner of the screen to open the system tray, then select the gear icon to access Settings.
- Add Printer: Navigate to ‘Settings > Advanced > Printing > Printers.’ Click on ‘Add Printer’ and select your printer from the list.
Your printer should now be connected. You can test the setup by printing a document. Next, we will cover wireless printer connectivity.
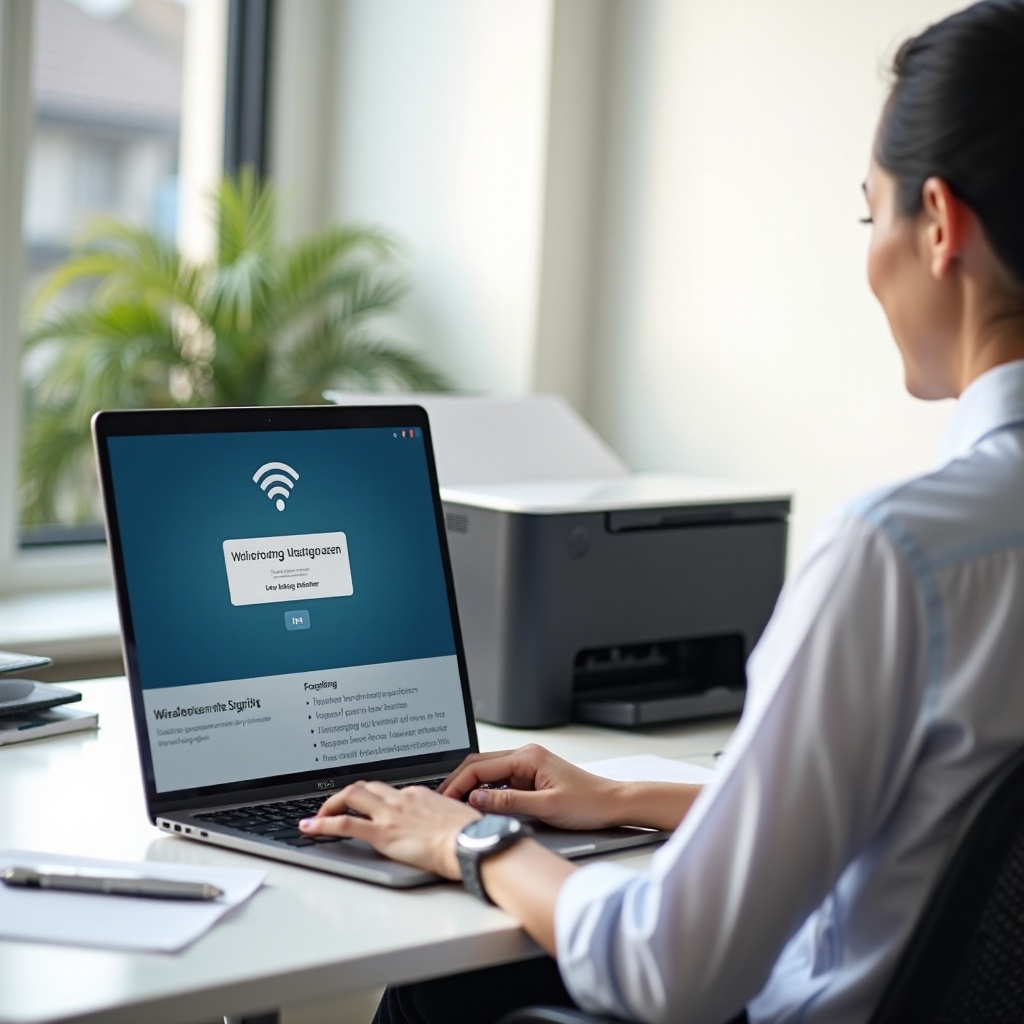
Connecting a Wireless Printer
Wireless printers offer the convenience of printing from anywhere in your home or office, provided they are on the same network as your Chromebook.
- Connect your printer to Wi-Fi: Use your printer’s control panel to connect it to your Wi-Fi network. This often involves navigating to the Wi-Fi settings and selecting your network name.
- Open Chromebook settings: On your Chromebook, go to ‘Settings > Advanced > Printing > Printers.
- Add Printer via network: Click ‘Add Printer’ and Chrome OS should automatically detect your printer. Select it and follow the prompts to complete the setup.
With your wireless printer set up, you can enjoy the flexibility of printing without physical connections. Now, let’s explore how to connect a Bluetooth printer, if supported by your Chromebook.
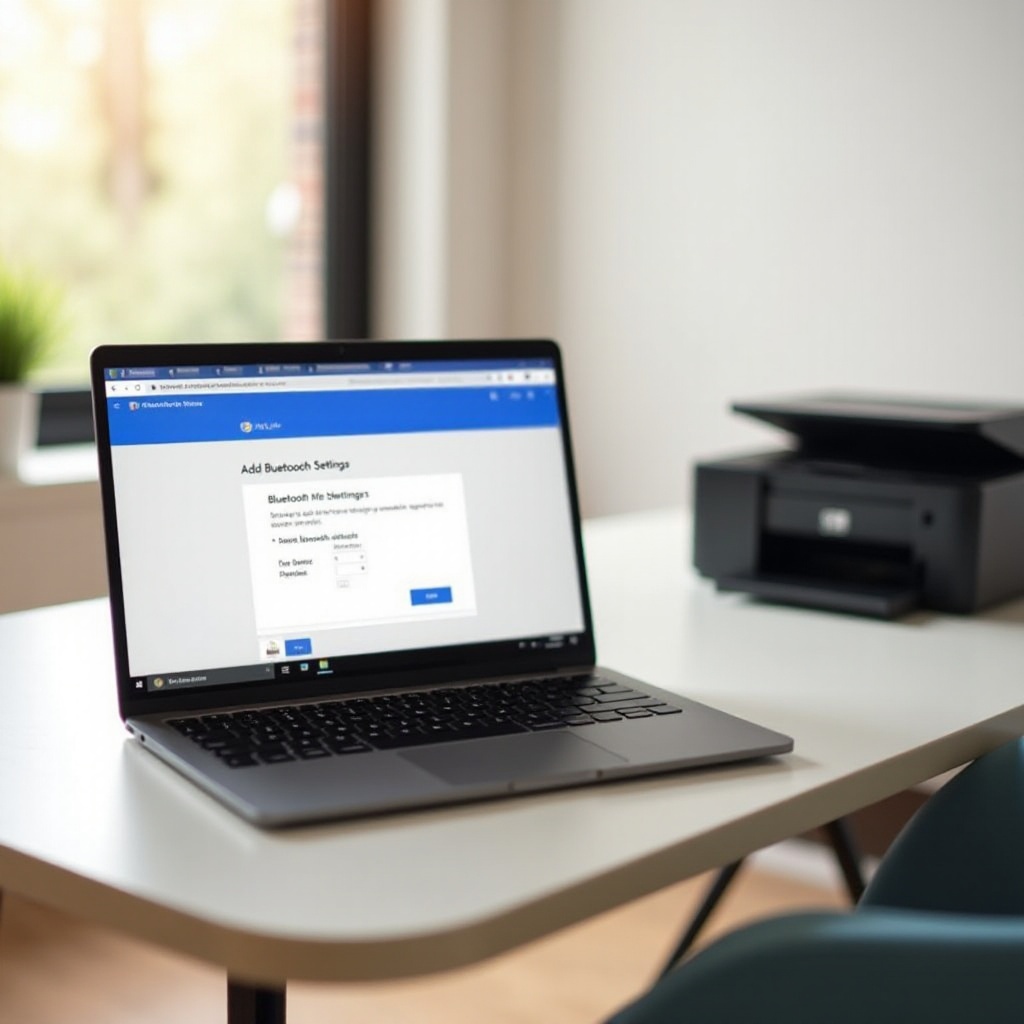
Using Bluetooth Printers (If Supported)
Bluetooth printing can be handy if your devices support it. Here’s how to set up a Bluetooth printer with your Chromebook:
- Enable Bluetooth: On your Chromebook, go to ‘Settings > Bluetooth’ and toggle it on.
- Pair the Printer: Ensure your printer’s Bluetooth is on. It should appear in the list of available devices on your Chromebook. Select your printer from the list and follow any pairing instructions.
- Add Printer in Settings: Once paired, go to ‘Settings > Advanced > Printing > Printers,’ click ‘Add Printer,’ and select your Bluetooth printer from the list.
Setting up a Bluetooth printer offers another convenient option for wireless printing. With your printer connected, it’s time to explore printing options and preferences.
Printing Options and Preferences
Customizing printing options can improve your printing experience:
- Choose Printer: When you print a document, your Chromebook will prompt you to select a printer.
- Adjust Settings: Adjust any necessary settings such as number of copies, orientation, and color options under the ‘More Settings’ menu.
- Use Cloud Print: Although Google Cloud Print has been deprecated, you can still find alternatives like using print services embedded in your printer’s software.
Fine-tuning your printing preferences ensures each printout meets your expectations. Sometimes, however, you might encounter issues. Here’s how to troubleshoot them.
Troubleshooting Printing Issues
Even with the best preparations, issues can arise. Here are some common troubleshooting steps:
- Update Drivers: Ensure your printer drivers and Chromebook OS are up to date.
- Check Connections: Verify that all cables are secure and that the printer is connected to the correct network.
- Restart Devices: Sometimes simply restarting your Chromebook and printer can resolve the issue.
- Review Printer Settings: Make sure the printer is set as the default printer and that it is not offline.
By following these steps, you can resolve most common printing issues. Finally, let’s wrap up and address a few frequently asked questions.
Conclusion
Connecting a printer to your Chromebook doesn’t have to be a daunting task. Whether through USB, Wi-Fi, or Bluetooth, the process is straightforward. By following these steps, you can easily add a printer and start printing documents without hassle.
Frequently Asked Questions
What types of printers are compatible with Chromebooks?
Most modern printers from major brands such as HP, Canon, and Epson are compatible with Chromebooks. Ensure the printer supports Wi-Fi, USB, or Bluetooth connectivity.
What should I do if my Chromebook can’t find my printer?
First, ensure the printer is on and connected to the same network as your Chromebook. Restarting both devices and checking for updates can also help. Try re-adding the printer through settings.
How can I set my printer as default on my Chromebook?
Go to ‘Settings > Advanced > Printing > Printers,’ find your printer in the list, click the three dots next to it, and select ‘Set as default.’