Introduction
Keeping a reliable backup of your phone’s data is more important than ever, and the Crucial X9 offers a robust solution. This device provides a seamless way to secure all your important files, photos, and contacts, ensuring that you never lose precious data. In this guide, we’ll examine how to make the most of Crucial X9, exploring its features, setup process, automation options, and troubleshooting techniques. Whether you’re tech-savvy or a novice, this comprehensive guide will assist you in safeguarding your data effectively.
Understanding Crucial X9’s Features
A thorough understanding of Crucial X9’s features is the first step in leveraging it as a backup solution.
Storage Capacities
The Crucial X9 comes in various storage capacities, catering to different needs. Whether you have modest storage requirements or need vast amounts of space, there is a suitable option for you. The device typically offers capacities ranging from 500GB to 2TB, giving you ample room to store high-resolution photos, videos, and large app data.
Speed and Performance
Beyond storage, the Crucial X9 shines with its impressive speed and performance. Utilizing advanced SSD technology, it provides rapid data transfer rates, minimizing the time it takes to back up your phone. With read and write speeds surpassing many competitors, you can efficiently manage and transfer large datasets, reducing downtime and increasing productivity.
Fully grasping these features provides a foundation for using the Crucial X9 effectively. Now, let’s move on to how you can set it up for your phone backups.
Setting Up Crucial X9 for Phone Backups
Proper setup is vital to ensuring a smooth and efficient backup process.
Initial Setup
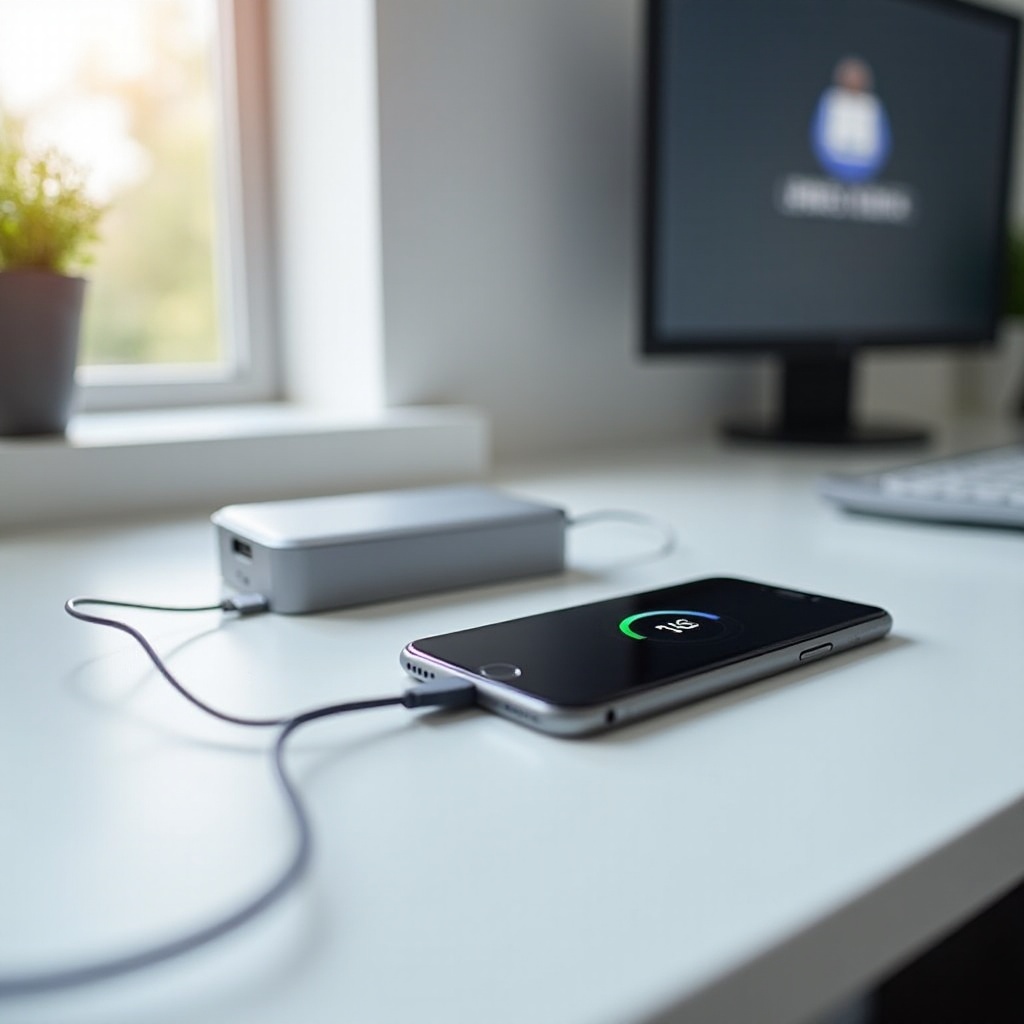
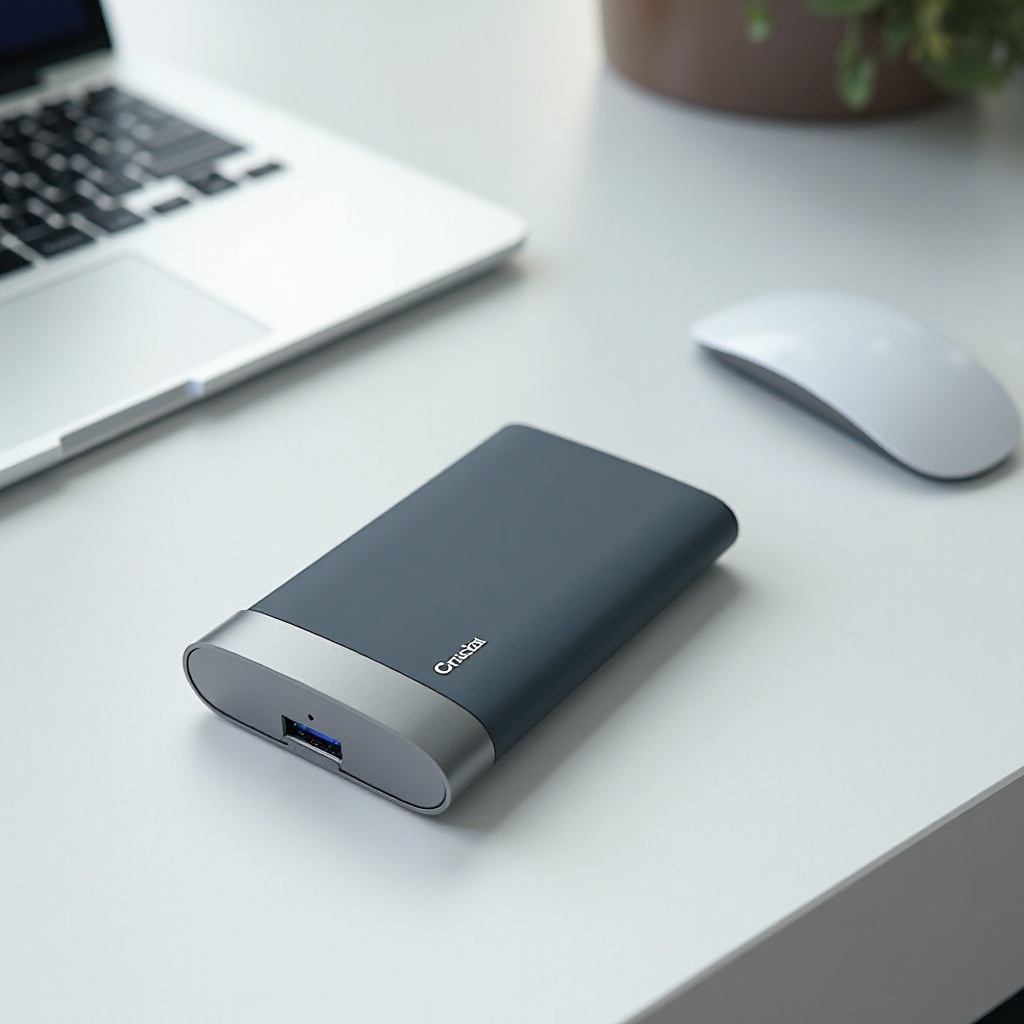
- Unbox and Connect: Start by unboxing your Crucial X9 and connecting it to your computer. Ensure that you use the provided USB-C cable for optimal connection.
- Install Software: Download and install the necessary software or drivers for the Crucial X9 from the official Crucial website.
- Format (if needed): Depending on your device’s operating system, you may need to format the Crucial X9. This can be done via the Disk Management tool on Windows or the Disk Utility tool on macOS.
Compatible Phones and OS
The Crucial X9 is compatible with a wide range of phones and operating systems. It works seamlessly with major OS, including iOS and Android. Ensuring compatibility is straightforward:
- iOS: For iPhones, make sure you have iOS 11 or later. The backup process can be done using iCloud or iTunes.
- Android: Android users should ensure their device runs Android 6.0 (Marshmallow) or later. Utilize the built-in backup service or developer options.
By completing these setup steps, you are ready to automate your phone backups with the Crucial X9.

Automating Your Phone Backups with Crucial X9
Automating backups ensures that your data remains up-to-date without manual intervention, providing peace of mind.
Using Built-in Tools
- iCloud for iOS: Navigate to Settings > [Your Name] > iCloud > iCloud Backup. Toggle on the iCloud Backup switch, and your phone will back up automatically whenever it is connected to Wi-Fi and power.
- Google Drive for Android: Access Settings > System > Backup. Toggle on the Back up to Google Drive switch, ensuring your data syncs automatically when connected to Wi-Fi.
Third-Party Apps
In addition to built-in tools, several third-party apps can enhance the automation of your backups:
- iMazing: This app offers powerful features for iOS users, allowing scheduled backups to a designated location, such as your Crucial X9.
- Syncios: Syncios supports both iOS and Android, providing robust backup options. Schedule your backups to the Crucial X9 for a seamless experience.
By using these tools, you can ensure your phone data is safeguarded without constant manual effort. However, automation isn’t without its challenges, and troubleshooting may be necessary.
Troubleshooting Common Issues
Despite its reliability, you might encounter occasional issues with the Crucial X9.
Connection Issues
- Cable Problems: Ensure that the USB-C cable is securely connected and not damaged.
- Ports: Check both the phone’s and computer’s ports for debris or damage.
- Driver Issues: Reinstall the Crucial X9 drivers from the official website if the device isn’t recognized.
Data Transfer Problems
- Check Compatibility: Verify that your phone’s OS and the Crucial X9 are fully compatible.
- Space: Ensure there’s sufficient space on both your phone and the external drive.
- Update Firmware: Occasionally, updating the phone’s OS or drive firmware can resolve transfer issues.
By addressing these common issues, you can maintain the smooth operation of your backups.
Conclusion
The Crucial X9 stands out as an excellent phone backup solution due to its high performance, large storage capacities, and easy automation options. With initial setup, automation, and troubleshooting guidance provided here, you can ensure your phone data remains secure and up-to-date effortlessly.
Frequently Asked Questions
How to ensure data security with Crucial X9?
Utilize encryption tools provided by Crucial or third-party software to encrypt your backups. Always keep your firmware updated and use password protection features.
Can Crucial X9 backup multiple devices simultaneously?
Yes, you can back up multiple devices using folders or partitions to organize data separately. Ensure each backup is scheduled appropriately to avoid conflicts.
What to do if backup automation fails?
1. **Check Software**: Ensure backup software is up-to-date. 2. **Space**: Confirm sufficient storage on the X9. 3. **Connectivity**: Check your device connections and USB settings.