Introduction
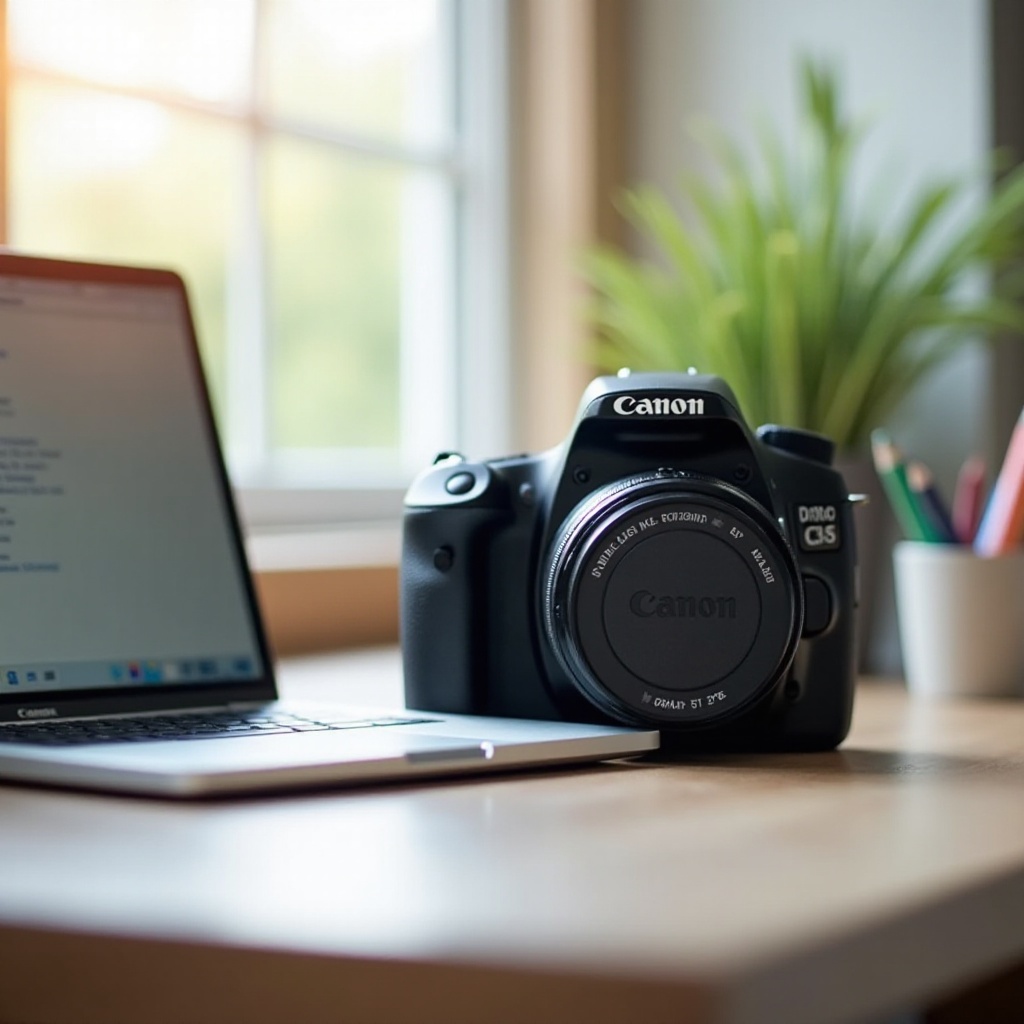
Connecting your Canon Rebel to a Chromebook opens a world of possibilities for photographers and tech enthusiasts. Not only does it allow you to transfer photos and videos directly, but it also lets you utilize the versatile Chromebook for editing, sharing, and storing your treasured shots. This guide will walk you through each step required to establish a successful connection, ensuring you get the most out of both your Canon Rebel and Chromebook.
We’ll start by exploring the benefits of connecting your Canon Rebel to a Chromebook, ensuring you’re fully prepared for the process, and examining the different methods available. We’ll also offer troubleshooting tips for common connection issues and provide recommendations on photo organization, editing, and storage.
Why Connect Your Canon Rebel to a Chromebook?
Connecting your Canon Rebel to a Chromebook can enhance your photography workflow in numerous ways. It simplifies the process of transferring images, allows you to view photos on a larger screen, and opens up a variety of editing options.
- Ease of Transfer: Moving photos directly to your Chromebook eliminates the need for intermediary devices such as memory card readers.
- Editing: Chromebooks support a variety of photo editing apps, allowing for convenient on-the-go editing.
- Storage: Utilize Chromebook’s cloud storage capabilities to back up your photos, ensuring they’re safe and accessible from anywhere.
By knowing the benefits, you’re better prepared to dive into the connection process with clarity and purpose, making the rest of the guide straightforward to follow.

Pre-Connection Preparations
Before connecting your Canon Rebel to your Chromebook, some essential preparations are necessary. These steps will ensure a smooth and efficient setup.
Ensure Devices are Fully Charged
- Charge Your Canon Rebel: A low battery can disrupt the transfer process or prevent the connection from occurring.
- Charge Your Chromebook: A fully charged device ensures that you have enough power for transferring files without interruptions.
Necessary Accessories
- USB Cable: The standard USB cable that came with your Canon Rebel.
- OTG Adapter: If your Chromebook only has USB-C ports, you’ll need an OTG (On-The-Go) adapter to connect the USB cable.
Installing Necessary Apps
- File Manager: Ensure you have a file manager app installed on your Chromebook to navigate and manage transferred files.
- Canon Camera Connect App: An official app from Canon that can facilitate the connection process, especially when using Wi-Fi.
Having everything ready will make the connection process smoother, preventing unnecessary delays and complications.
Methods to Connect
There are several ways to connect your Canon Rebel to your Chromebook, each with its own set of steps. Here, we will discuss the most common and effective methods.
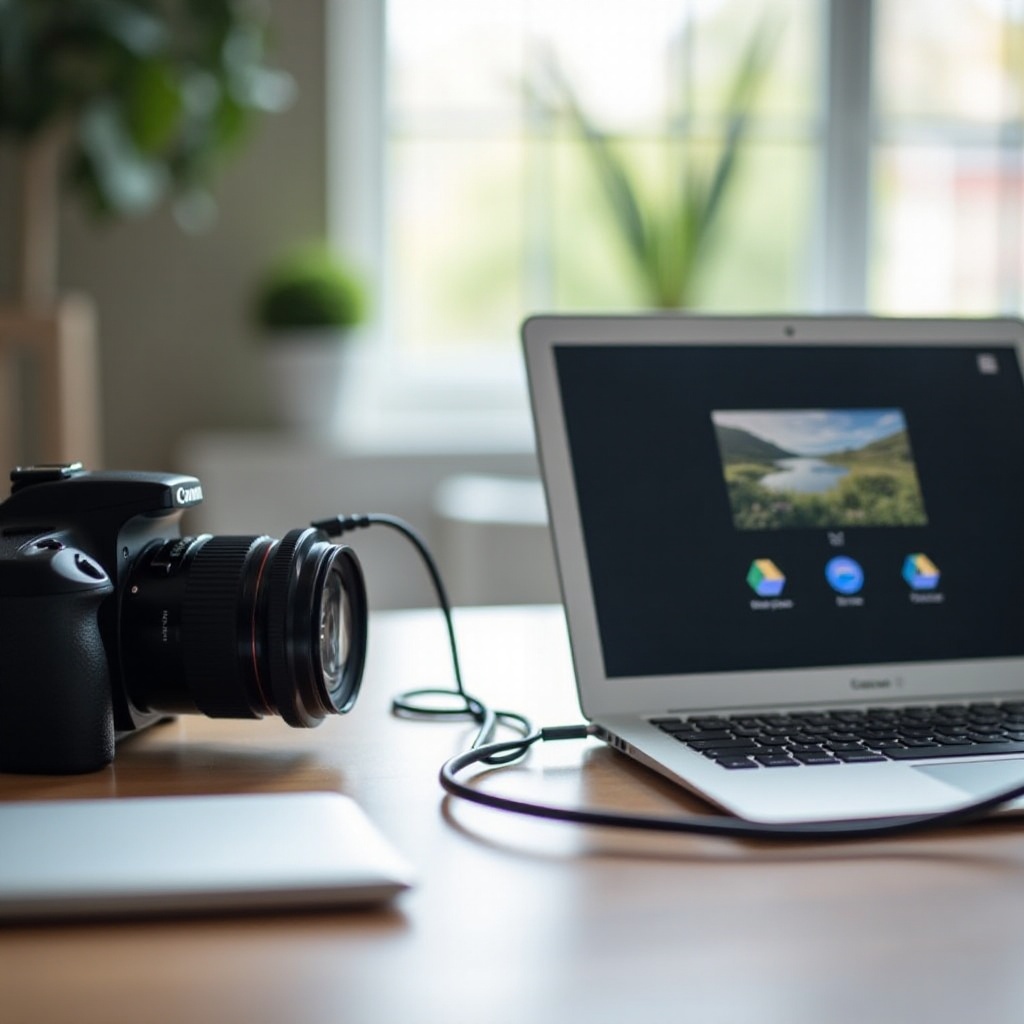
Using a USB Cable
- Connect the USB Cable: Plug one end of the USB cable into your Canon Rebel and the other end into your Chromebook or OTG adapter.
- Select Transfer Mode on Camera: Turn on your Canon Rebel and select the photo transfer mode.
- Access Files on Chromebook: Open the file manager on your Chromebook to locate the Canon Rebel as an external device.
Using Wi-Fi Connection
- Enable Wi-Fi on Camera: Go into your Canon Rebel’s settings and enable the Wi-Fi option.
- Set Up Wi-Fi Connection: Follow the instructions to connect your camera to the same Wi-Fi network as your Chromebook.
- Transfer Files Wirelessly: Use the Chromebook’s file management tools to access the camera and transfer files.
Canon Camera Connect App
- Download the App: Ensure the Canon Camera Connect App is installed on your Chromebook.
- Pair Devices: Open the app and follow the instructions to pair your Canon Rebel with your Chromebook.
- Transfer Files: Use the app to manage your files and transfer photos and videos seamlessly.
These methods provide flexibility, allowing you to choose the one that best fits your needs and setup.
Troubleshooting Common Issues
Even with thorough preparation, you might encounter issues when connecting your Canon Rebel to your Chromebook. Here are solutions to some common problems.
Connection Not Recognized
- Check Connections: Ensure the USB cable or Wi-Fi setup is correct and seated properly.
- Restart Devices: Sometimes, a simple restart of both the camera and Chromebook can resolve connection issues.
- Update Software: Ensure both the camera firmware and the Chromebook OS are updated to the latest versions.
Slow File Transfer
- Check File Size: Large files can take longer to transfer. Split large transfers into smaller batches.
- Wi-Fi Signal: Ensure a strong and stable Wi-Fi connection to prevent slow speeds during wireless transfers.
- USB Port Type: Using USB 3.0 ports instead of USB 2.0 can significantly increase transfer speeds.
Software Compatibility Issues
- Update Apps: Ensure all related apps and the operating system are up to date.
- Check Permissions: Confirm that the necessary permissions for apps and file transfers are granted on your Chromebook.
- Trial Other Apps: If issues persist, explore other compatible apps for file management and transfer.
Useful Tips and Best Practices
To make the most of your photo transfer and editing experience on your Chromebook, consider these best practices.
Organizing Photos
- Create Folders: Sort your photos into folders by date, event, or theme for easy retrieval.
- Use Tags: Apply tags to your files for better organization and searchability.
Recommended Photo Editing Apps
- Polarr: A robust photo editing tool available on Chromebook.
- Snapseed: User-friendly app with a variety of editing features.
Backup and Cloud Storage Options
- Google Drive: Utilize Google’s cloud storage for easy backup and access from any device.
- Dropbox: Another reliable cloud storage option for photo backup.
These practices ensure your photos are organized, easily editable, and safely stored.
Conclusion
Connecting your Canon Rebel to a Chromebook is a straightforward process that enhances your photography and editing capabilities. Following the steps and tips outlined in this guide will help you achieve a seamless connection and make the most of your devices. Remember to prepare adequately, choose the connection method that best fits your needs, and troubleshoot any issues that arise. Happy photographing!
Frequently Asked Questions
Can I connect other Canon models to a Chromebook?
Yes, most Canon cameras can connect to a Chromebook using similar methods. Always refer to your camera’s specific manual for detailed instructions.
What should I do if my Chromebook doesn’t recognize my Canon Rebel?
Ensure all connections are secure, restart both devices, and check for any necessary software updates. If problems persist, consult Canon’s support resources.
Are there any recommended apps for photo editing on Chromebooks?
Yes, some popular apps include Polarr, Snapseed, and Adobe Lightroom. They offer various features for both basic and advanced photo editing needs.